If you are researching how to make your own t shirt printing machine, you are probably trying to solve a real business problem – lower startup cost, faster testing, or more control over small apparel runs. That makes sense. For a school booster club, a startup brand, or a local event team, buying commercial equipment right away can feel like a big leap.
The practical question is not just whether you can build one. It is whether the machine you build will print consistently enough to save time, protect your shirts, and produce results people will actually wear. A homemade setup can work for basic, low-volume printing, but the difference between a clever DIY project and a dependable production tool is wider than most first-time printers expect.
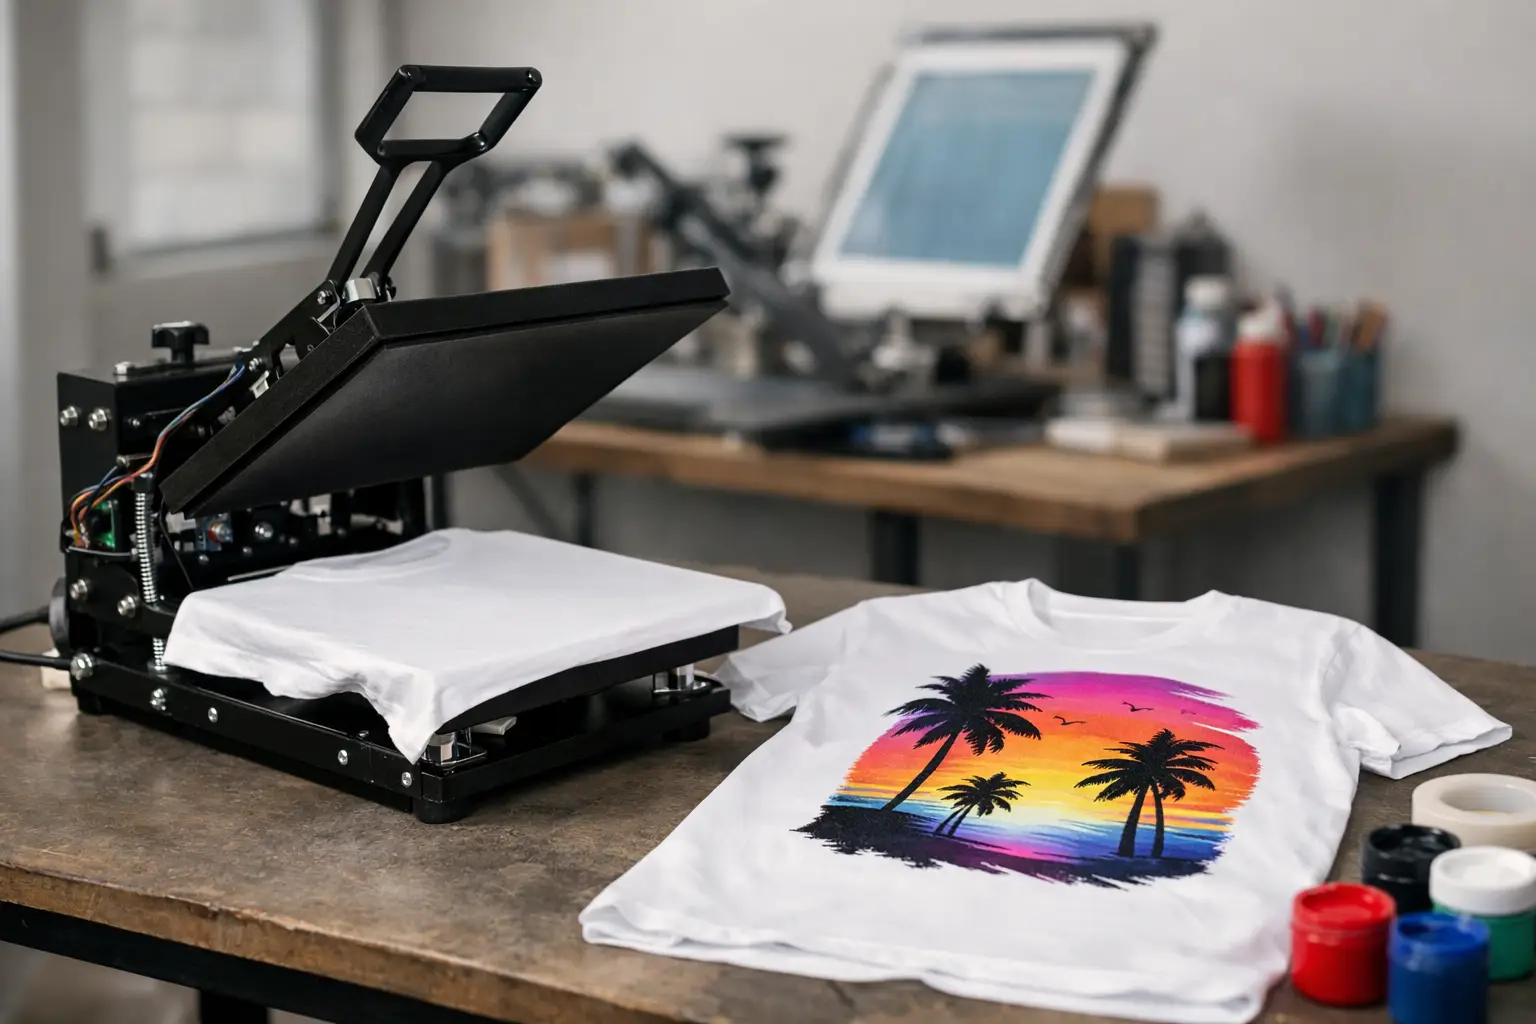
What a DIY t shirt printing machine really is
Most people who want to make their own t shirt printing machine are not building a fully automated press from scratch. They are usually creating a manual screen printing station with a platen, hinge clamps, a frame holder, and some way to keep shirts aligned while ink is pulled through a screen.
That matters because the goal should be realistic. A homebuilt machine can help you print simple one-color designs on a short run. It is far less likely to match the registration, pressure control, speed, and repeatability of a commercial press used for business orders, uniforms, or branded programs that need consistent reorders.
If your use case is a weekend fundraiser or testing a few shirt designs, DIY may be enough. If your use case is 100 staff shirts due by Friday, the margin for error gets small fast.
How to make your own t shirt printing machine
At its simplest, the machine needs to do three things well. It has to hold the shirt flat, hold the screen in a stable position, and return to the same placement every time. If any one of those fails, your prints shift, smear, or look uneven.
You can build a basic unit with a wood or metal base, a shirt platen cut slightly narrower than the body of the shirt, and hinge clamps mounted at one end to hold the screen frame. The platen should sit at a comfortable working height and be smooth enough that shirts slide on without snagging. Many DIY builders cover the platen with a heat-resistant or low-friction surface and add spray adhesive or platen tape to keep shirts from moving during the print stroke.
The screen frame must open and close without wobbling. That sounds simple, but it is where many homemade presses start to struggle. If the clamps are not level, if the base flexes, or if the frame shifts even slightly between prints, your image placement becomes inconsistent. One shirt may look fine. The tenth may be visibly off-center.
For single-color printing, this kind of setup can be workable. For multi-color work, you also need registration controls so each screen lands in exactly the same spot. That is much harder to build accurately with basic hardware-store parts.
Core materials and parts
A workable homemade press usually includes plywood or steel for the base, a platen shaped for adult or youth shirts, screen printing hinge clamps, a screen frame, squeegees, adhesive for garment hold-down, and a method for curing ink. Water-based and plastisol inks have different handling needs, so your curing method matters as much as the press itself.
This is where many DIY budgets get misleading. The press is only part of the system. You still need coated screens or emulsion supplies, exposure equipment or pre-burned screens, ink, cleanup materials, and a dryer or heat source strong enough to cure prints properly. If the ink is under-cured, it may look good when it comes off the platen and crack or wash out after one laundry cycle.
The curing issue most DIY builders underestimate
Printing the shirt is only half the job. Curing the ink is what makes the print durable. A heat gun can sometimes work for small tests, but it is difficult to apply even heat consistently across a full design. Flash dryers and conveyor dryers exist for a reason.
This is one of the biggest trade-offs in learning how to make your own t shirt printing machine. You can improvise the press more easily than you can improvise dependable curing. If you are printing for paying customers, staff uniforms, or school apparel, durability is not optional.
Where DIY works well
A homemade machine can be useful when you are learning the basics of screen printing, producing a few samples, or making simple one-color shirts in very low volume. It can also help a small organization test demand before investing in commercial equipment.
For example, if a club wants 20 event shirts with a simple front logo, a DIY setup may be enough if the operator accepts some setup time and a learning curve. The economics change when the job gets larger, the artwork gets more detailed, or the deadline gets tighter.
That is where experienced production shops have a real operational advantage. Consistency is not just about appearance. It affects waste, labor time, reorder accuracy, and confidence when you promise a delivery date.
Where DIY starts costing more than it saves
The main hidden cost is not lumber, clamps, or screens. It is time. Time spent adjusting the frame. Time spent remaking a blurred print. Time spent curing shirts twice because the first pass did not hold. Time spent replacing blank garments that were loaded crooked or scorched.
For businesses and organizations, those costs add up quickly. A marketing manager planning a trade show does not need a clever workaround. They need shirts to arrive on time and look the same from the first carton to the last. A coach outfitting a team needs names, numbers, sizes, and color consistency handled correctly. A school administrator ordering spirit wear needs a process that does not create more work.
This is why many customers who first explore DIY eventually decide to keep in-house work limited to testing and leave volume production to a specialized print partner. It is not because building a press is impossible. It is because dependable output at scale requires more than a press.
A realistic build path if you still want to try
If your goal is learning, start with a one-color manual station. Keep the design simple and use inexpensive test garments before printing on finished inventory. Focus on platen stability, even squeegee pressure, and proper curing before trying multiple colors or larger runs.
Do not overbuild too early. A basic, sturdy single-station press is more useful than a complicated homemade carousel that never registers correctly. If your first objective is clean left-chest logos or a bold front print, a simpler machine gives you a better chance of usable results.
It also helps to define success clearly. If success means producing 10 acceptable shirts for an internal event, DIY may deliver. If success means retail-ready merchandise, repeat orders, and consistent branding, you are entering a different category of production.
Should you build one or buy one?
It depends on volume, quality expectations, and how valuable your time is. Building your own machine can make sense for experimentation, hobby printing, or very small community projects. Buying entry-level equipment makes more sense when you want better repeatability and fewer setup issues. Outsourcing makes the most sense when quality, turnaround, and order accuracy matter more than the experience of printing the shirts yourself.
That is especially true for organizations with broader merch needs. Apparel orders often lead to matching hoodies, hats, tote bags, promo items, or event materials. Once branding expands across products, managing it all with a homemade press stops being practical.
At Artik, we have seen this pattern for decades. Customers often start by trying to solve one shirt order on their own, then realize the real need is a reliable production partner who can keep branding consistent across reorders, departments, teams, and campaigns.
The bottom line on how to make your own t shirt printing machine
Yes, you can make a basic t shirt printing machine yourself. For simple one-color work, it can be a useful hands-on project and a legitimate way to learn the fundamentals of screen printing. But the machine is only one piece of the process, and it is rarely the hardest piece.
The real test is whether your setup can deliver shirts that look right, hold up in the wash, and arrive when they are needed. If you are building for learning, start simple and expect some trial and error. If you are building because people are counting on the finished product, reliability usually matters more than the satisfaction of making the tool yourself.
Sometimes the smartest production decision is not asking whether you can build the machine. It is asking what the shirts need to accomplish once they leave the press.